
Install the JavaScript agent
The Fingerprint JavaScript agent is a high-performance JavaScript function that collects multiple device and browser signals and sends them to the Fingerprint Platform API for visitor identification and device intelligence analysis. If you are looking for equivalent SDKs for mobile devices, see Android and iOS.
This guide focuses on how to install the JavaScript agent. To explore the JavaScript agent API further, see its API reference.
You have several options for how to install the JavaScript agent on your website:
- Import the agent directly from a CDN (fastest for a quick test).
- Install the agent loader using NPM (includes TypeScript support).
- Use a frontend SDK for your specific framework like React, Vue, Svelte, or Angular (recommended, includes built-in caching strategies and framework-specific APIs).
Sandboxed iframe not supportedDo not run the JavaScript agent inside a sandboxed iframe. This setup is not supported and may prevent the agent from functioning properly.
Each option is described in more detail below. They all require a Fingerprint Public API key, which you can get by navigating to Dashboard > API keys.
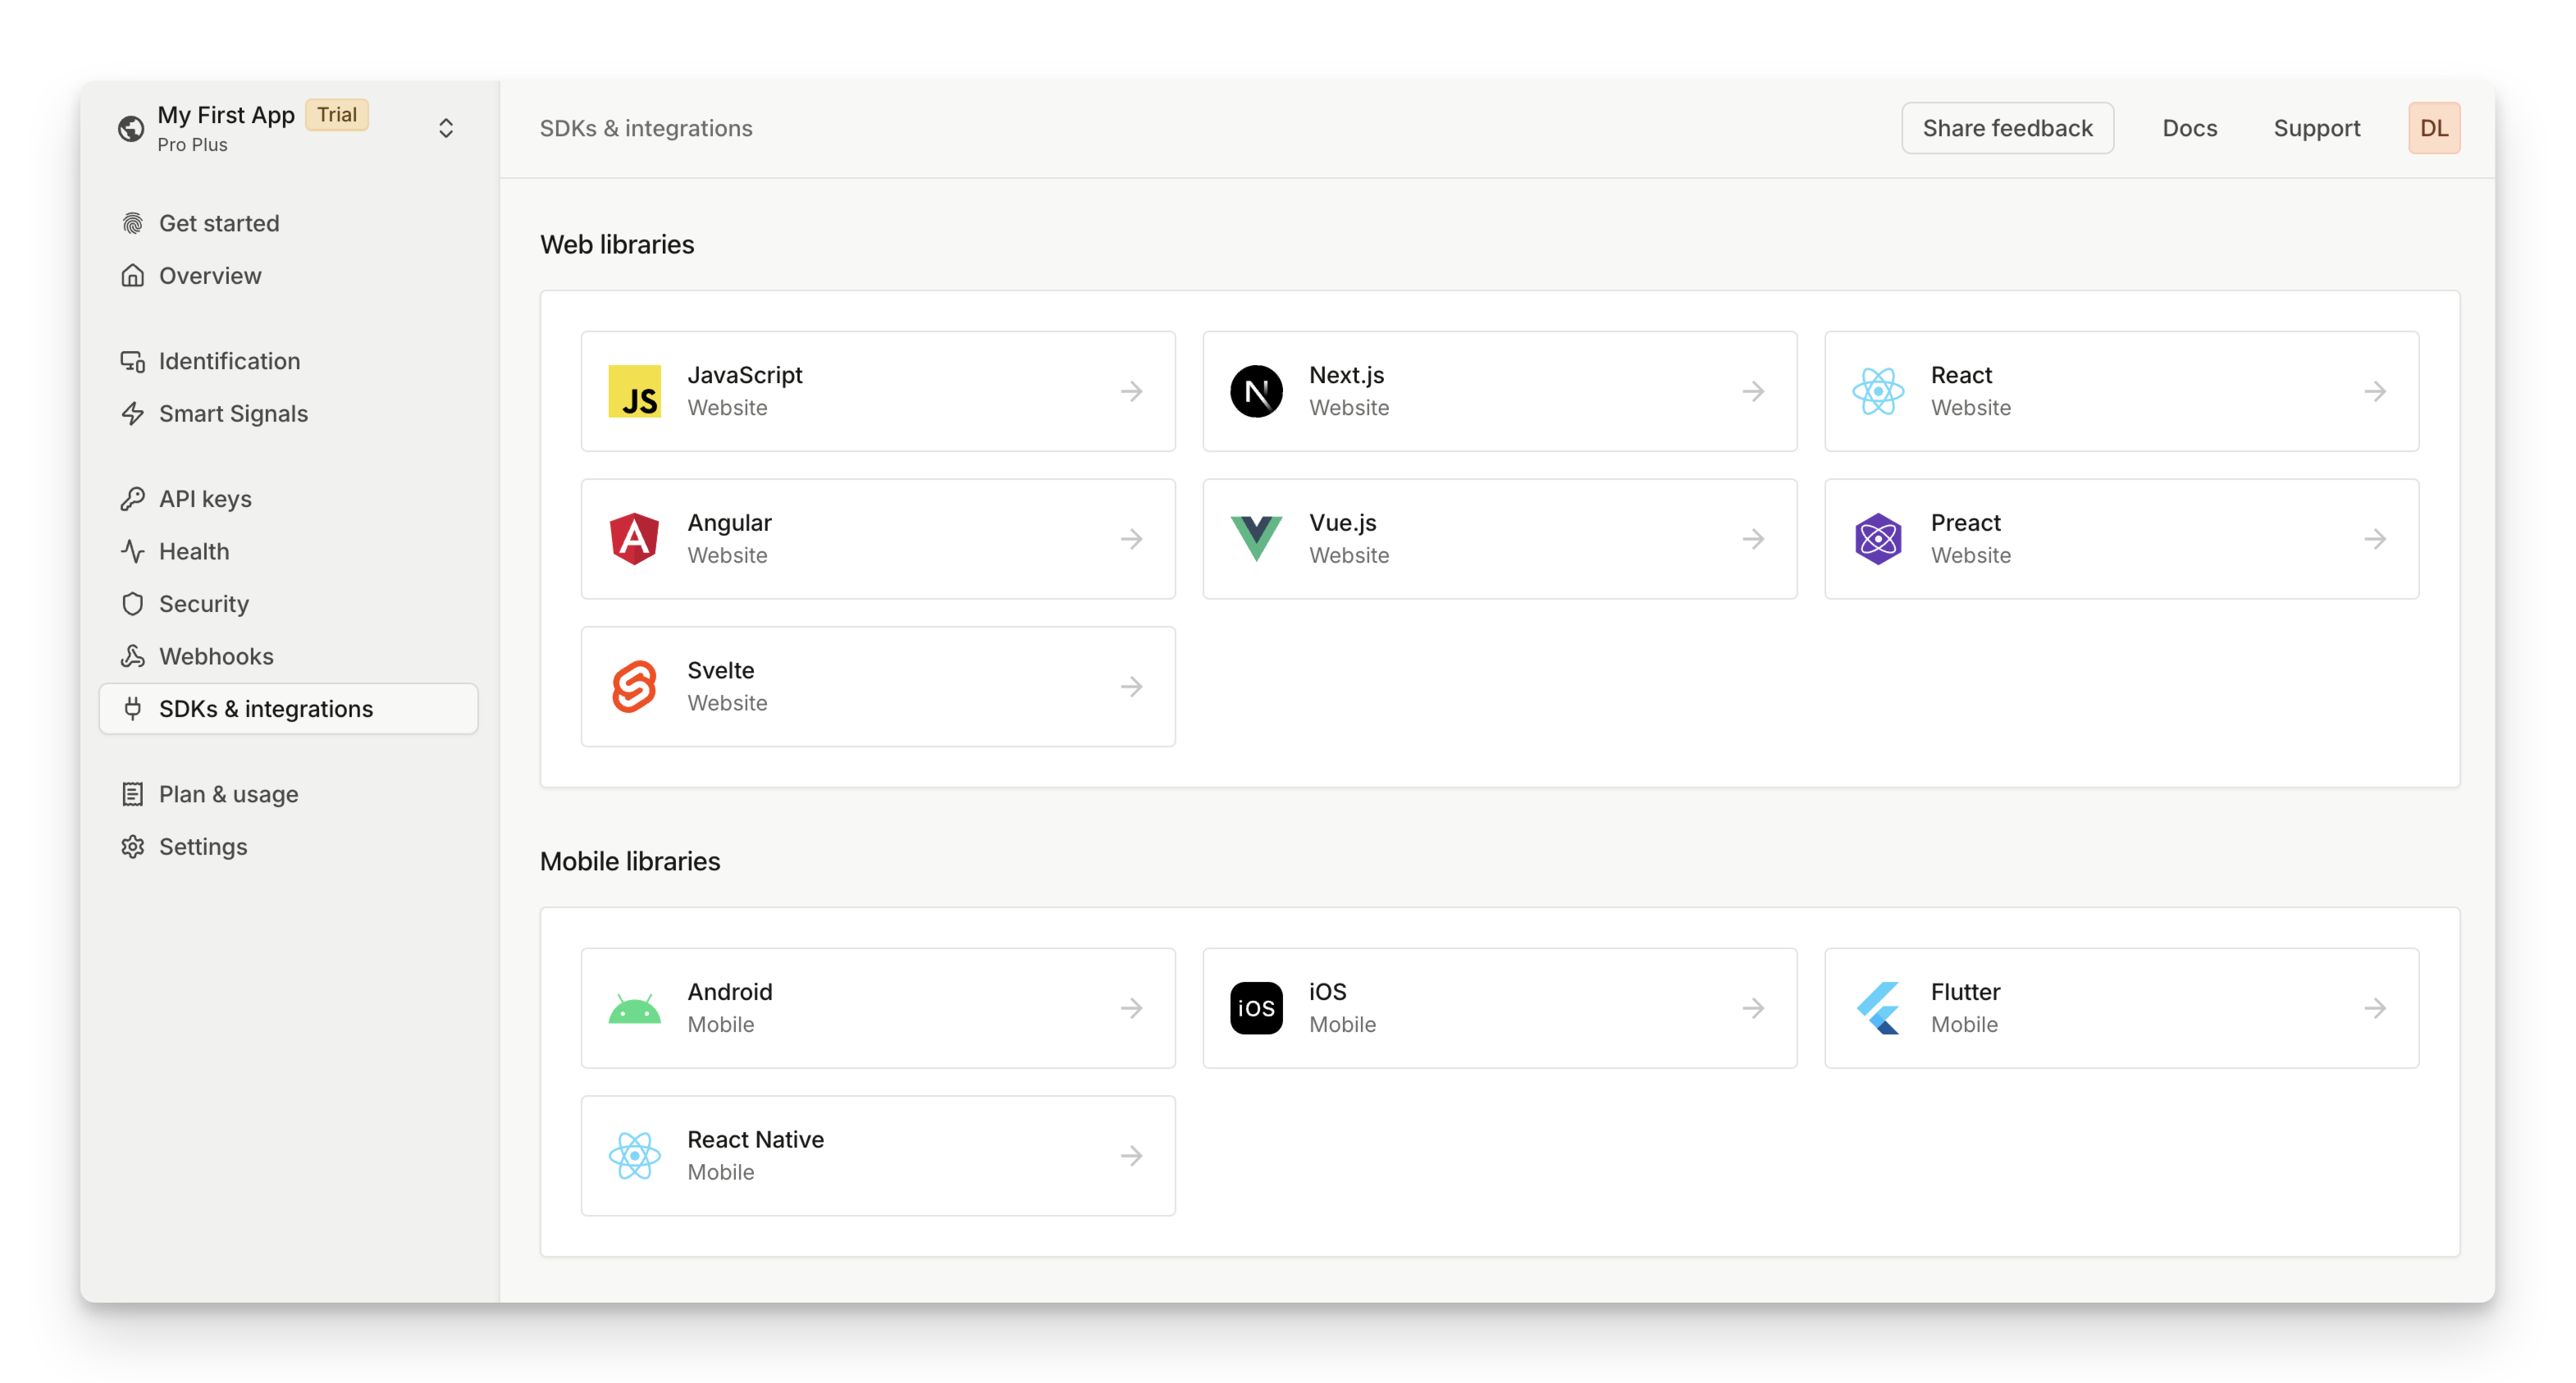
You can also see SDKs & integrations for code snippets of all the options already personalized with your public API key, region, and proxy integration.
Importing from a CDN
This is the easiest way to start. It's also known as ESM import.
- Add the HTML code below to your page.
- Use your public API key at the end of the URL, right after
/v3/, for example:https://fpjscdn.net/v3/<<browserToken>>.
<script>
  // Initialize the agent once at web application startup.
  // Alternatively initialize as early on the page as possible.
  const fpPromise = import('https://fpjscdn.net/v3/<<browserToken>>')
    .then(FingerprintJS => FingerprintJS.load())

  // Analyze the visitor when necessary.
  fpPromise
    .then(fp => fp.get())
    .then(result => console.log(result.requestId, result.visitorId))
</script>
Alternatively, you can import the agent as an IIFE. This runs synchronously and pauses the other scripts during loading and therefore is not recommended:
<script src="https://fpjscdn.net/v3/<<browserToken>>/iife.min.js"></script>
<script>
  // Initialize the agent at application startup.
  var fpPromise = FingerprintJS.load()

  // Analyze the visitor when necessary.
  fpPromise
    .then(fp => fp.get())
    .then(result => console.log(result.requestId, result.visitorId))
</script>
Always use the latest JavaScript agentDo not copy the JavaScript agent code from
fpjscdn.netto your codebase.We routinely update the JavaScript agent to keep up with the latest browser releases. Always download the latest JavaScript agent, otherwise you may miss critical updates, leading to degraded accuracy or service disruption. If you absolutely must host all JavaScript resources yourself, please reach out to our support at [email protected] for a solution.
Installing the agent loader using NPM
The Fingerprint NPM package works as a loader for the JavaScript agent. It does not contain the JavaScript agent code itself; instead, it's responsible for downloading the agent from a CDN at runtime.
We routinely update the JavaScript agent to keep up with the latest browser releases. The NPM package ensures your website always uses the latest, most accurate version of the agent without frequently updating your NPM dependencies and redeploying your application.
- The NPM package includes TypeScript types for a better development experience.
- The package is compatible with various module bundlers such as Webpack and Rollup.
To use the NPM package:
- Install the @fingerprintjs/fingerprintjs-pro NPM package using your favorite package manager.
npm install @fingerprintjs/fingerprintjs-proyarn add @fingerprintjs/fingerprintjs-propnpm add @fingerprintjs/fingerprintjs-pro- Import the package into your code:
import * as FingerprintJS from '@fingerprintjs/fingerprintjs-pro'

// Download the agent at application startup and initialize it
const fpPromise = FingerprintJS.load({ apiKey: '<<browserToken>>' })

// Analyze the visitor when necessary.
fpPromise
  .then(fp => fp.get())
.then(result => console.log(result.requestId, result.visitorId))- Pass your public API key as
apiKeyinto theload()function.
You can use your preferred import syntax. However, using a namespace import (import * as FingerprintJS from) instead of a default import ( import FingerprintJS from) will result in a slightly smaller bundle size due to improved tree-shaking.
Alternatively, you can use the legacy CommonJS standard:
const FingerprintJS = require('@fingerprintjs/fingerprintjs-pro')

// Initialize an agent at application startup.
const fpPromise = FingerprintJS.load({ apiKey: '<<browserToken>>' })

// Analyze the visitor when necessary.
fpPromise
  .then(fp => fp.get())
  .then(result => console.log(result.requestId, result.visitorId))
If you use a server-side rendering framework, make sure the NPM package code runs only in the browser, not on the server. For more information, see Usage with server-side rendering frameworks.
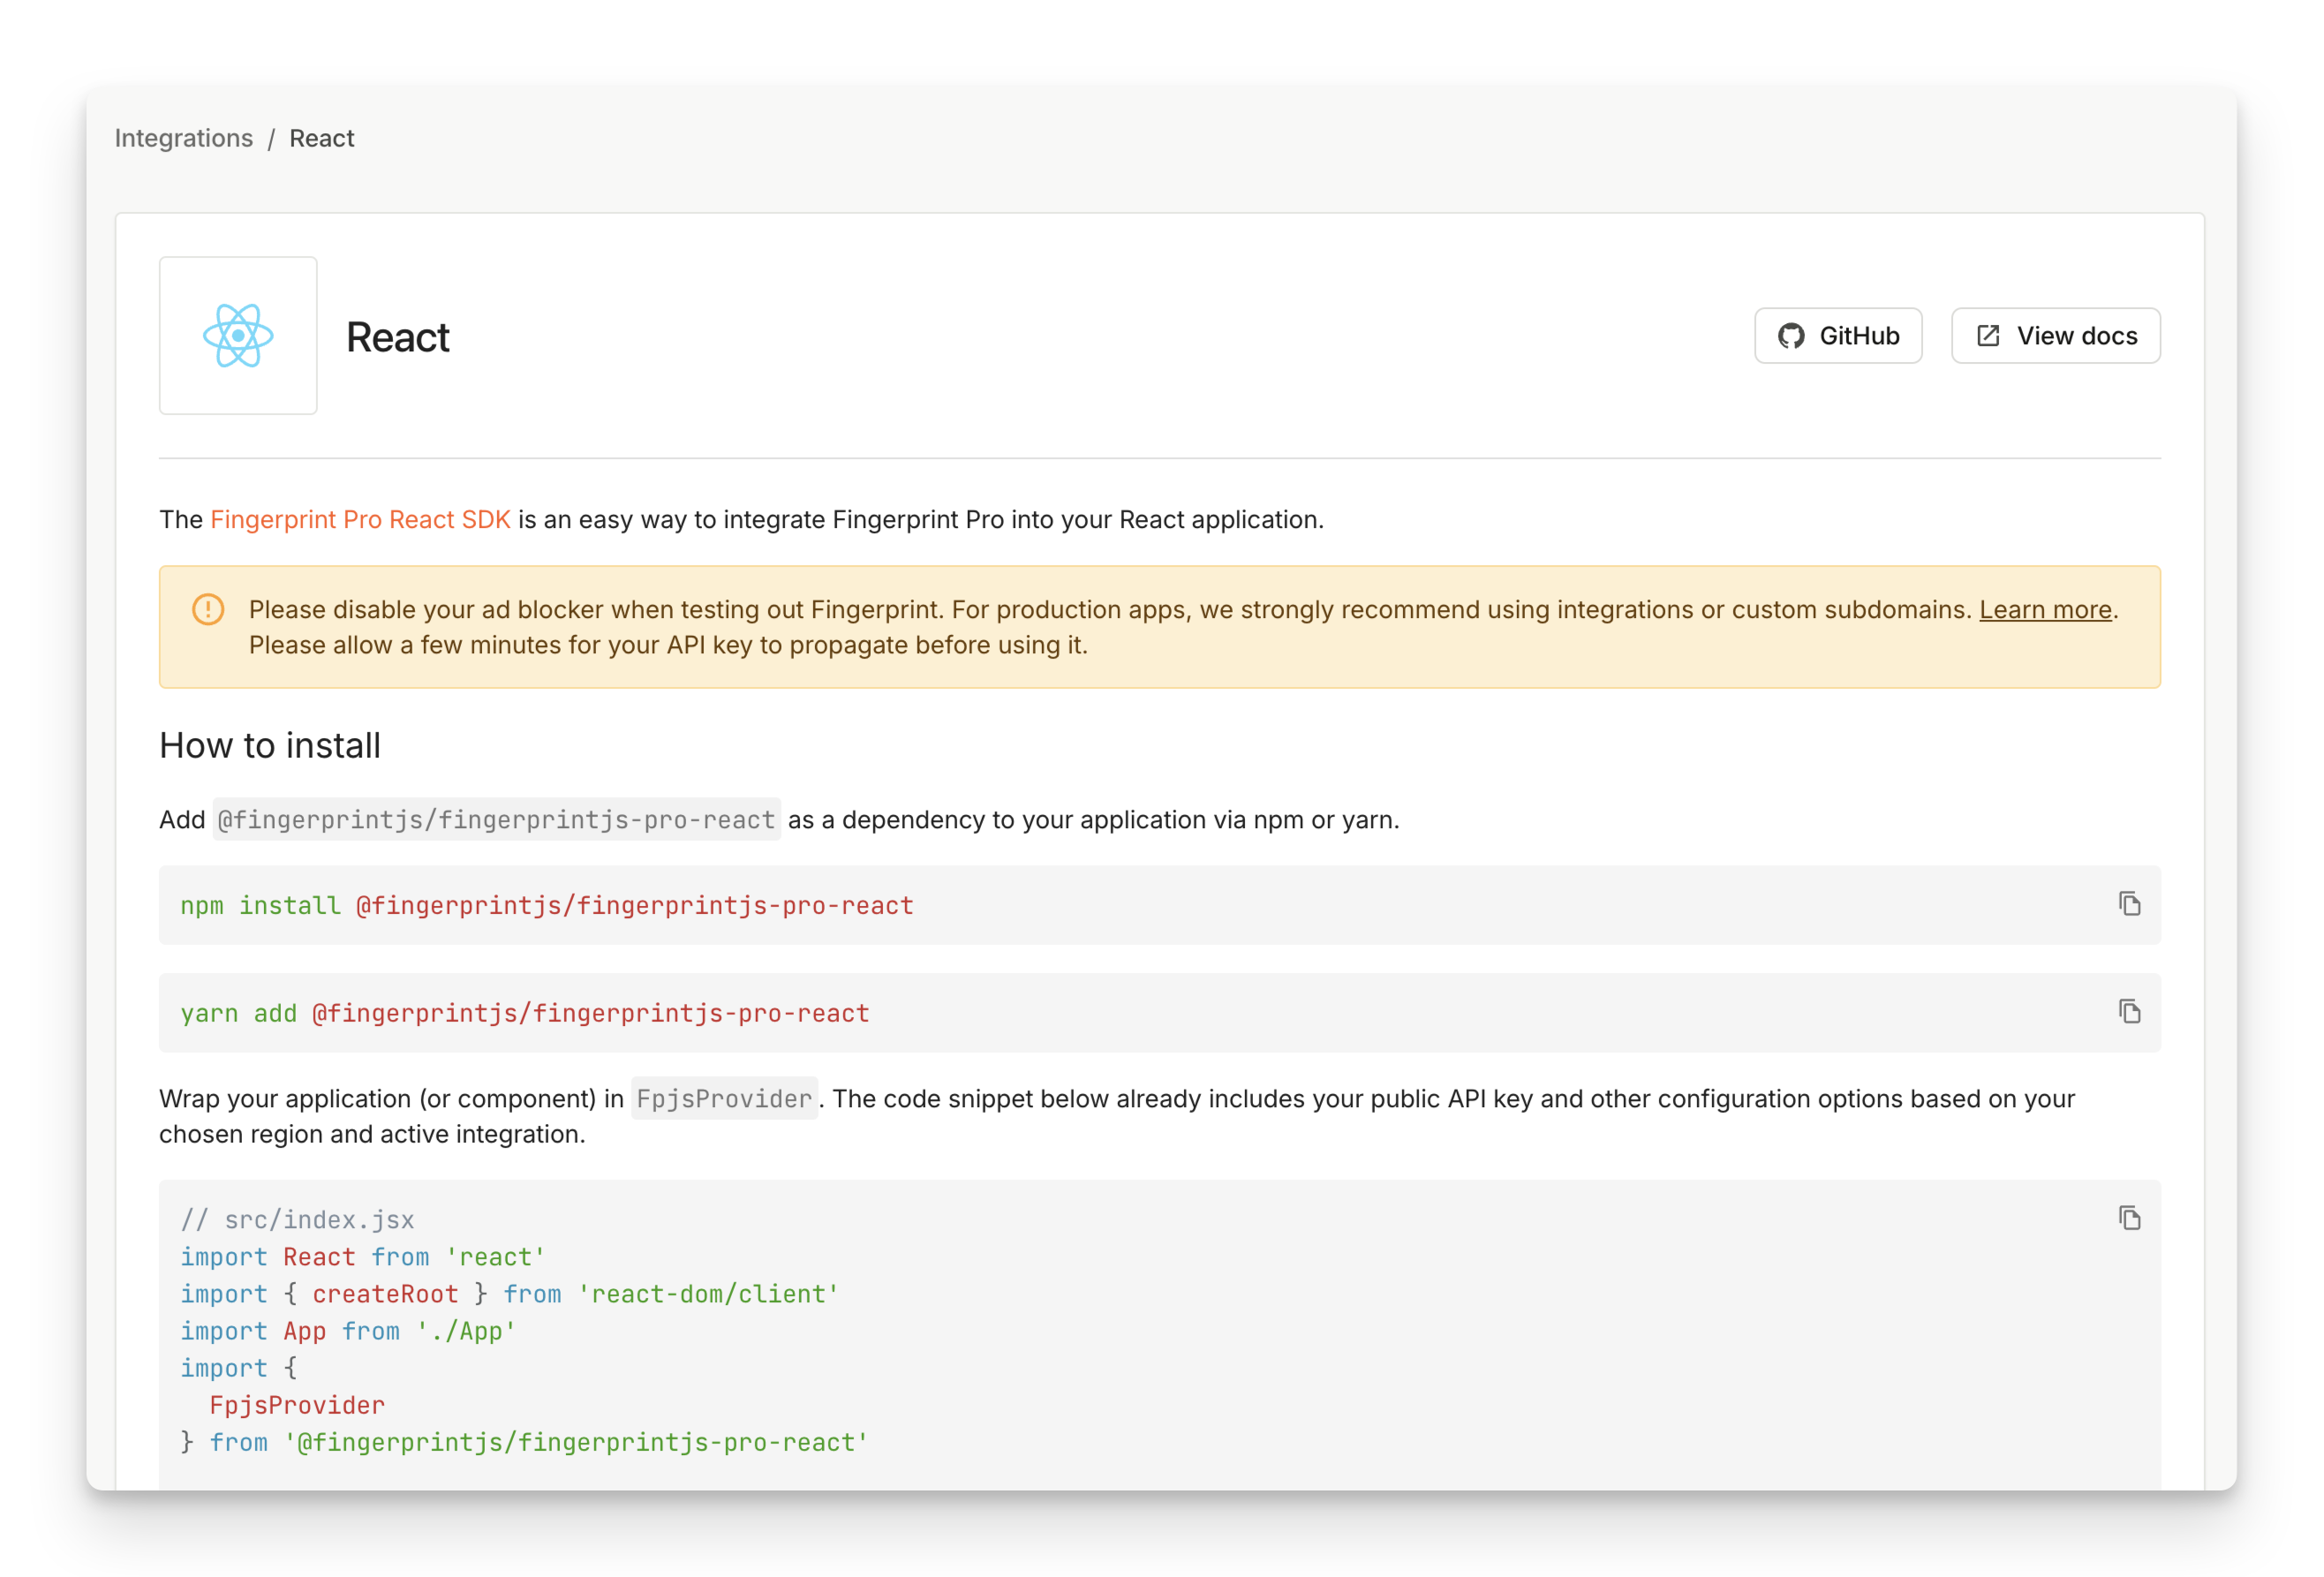
Using a framework-specific SDK
We have SDKs for the following frameworks:
The SDKs wrap the agent loader NPM package described above, meaning the latest fingerprinting logic is still downloaded from a CDN at runtime. The SDKs expose the JavaScript agent functionality through framework-specific APIs (for example, a provider component and a hook in React). They also have caching and other best practices built in.
If you can, we recommend using one of the framework SDKs above. You can go to Dashboard > SDKs & integrations to get started with personalized code snippets for the SDKs.
If your application uses a different frontend framework you can also use our generic single-page application SDK. It includes the same built-in caching mechanism but provides a framework-agnostic low-level API, giving you greater control over your implementation.
Configuring the agent
No matter which installation methods you pick above, you need to initialize the agent with your API key, region, proxy endpoints, and other load options. See the JavaScript Agent API Reference for a detailed description of all load options. Most users will need the following four options:
apiKey: Go to Dashboard > API keys to find your public API key.region: If you choose to store your data in the EU or Asia Pacific region, you need to specify it in the region load option.endpointandscriptUrlPattern: Requests to Fingerprint CDN and API can be blocked by ad blockers. For maximum coverage, we recommend proxying Fingerprint requests through your own domain or subdomain. See Proxy integrations for more information. Once you have a proxy integration in place, you will use theendpointandscriptUrlPatternload options to specify the proxy endpoints for agent download and identification requests. For the CDN installation method, use the proxy endpoint for agent download directly in theimportstatement.
<script>
  // Initialize the agent on page load.
  // In these snippets we are already using a custom subdomain endpoint instead of connecting
  // to Fingerprint servers directly to avoid ad blockers.
  // See `import` and `endpoint` below.
  const fpPromise = import('https://metrics.yourwebsite.com/web/v3/<<browserToken>>')
    .then(FingerprintJS => FingerprintJS.load({
      endpoint: [
        "https://metrics.yourwebsite.com",
        FingerprintJS.defaultEndpoint
      ],
      region: "eu"
    }))

  // Get the visitorId when you need it.
  fpPromise
    .then(fp => fp.get())
    .then(result => {
      console.log(result.visitorId)
    })
</script>
import FingerprintJS from '@fingerprintjs/fingerprintjs-pro'
// Initialize the agent on application start.
const fpPromise = FingerprintJS.load({
apiKey: "<PUBLIC_API_KEY",
endpoint: [
"https://metrics.yourwebsite.com",
FingerprintJS.defaultEndpoint
],
scriptUrlPattern: [
"https://metrics.yourwebsite.com/web/v<version>/<apiKey>/loader_v<loaderVersion>.js",
FingerprintJS.defaultScriptUrlPattern
],
region: "eu"
})
// Get the visitorId when you need it.
fpPromise
.then(fp => fp.get())
.then(result => console.log(result.visitorId))// src/index.jsx
import React from 'react'
import { createRoot } from 'react-dom/client'
import App from './App'
import {
FpjsProvider,
FingerprintJSPro
} from '@fingerprintjs/fingerprintjs-pro-react'
createRoot(document.getElementById('root')).render(
<React.StrictMode>
<FpjsProvider
loadOptions={{
apiKey: "PUBLIC_API_KEY",
endpoint: [
"https://metrics.yourwebsite.com",
FingerprintJSPro.defaultEndpoint
],
scriptUrlPattern: [
"https://metrics.yourwebsite.com/web/v<version>/<apiKey>/loader_v<loaderVersion>.js",
FingerprintJSPro.defaultScriptUrlPattern
],
region: "eu"
}}
>
<App />
</FpjsProvider>
</React.StrictMode>
)If you go to SDKs & integrations you can find a code snippet for your chosen installation method that already reflects your public key, chosen region, and active integration:
- If you used the CDN or NPM loader installation methods, you can pass the load options as an object into the
FingerprintJS.load()method. Once you have the promise of the JavaScript agent instance, you can resolve it and callget()to send an identification requests to Fingerprint API. - If you used a framework-specific client SDK, please refer to its documentation for the SDK-specific way of passing the load options object to the JavaScript agent.
What's next
- Continue by reading Identify visitors to learn best practices for timing identification requests, caching visitor information, or using linked IDs to associate your own identifiers with each visitor ID.
- See Configure Content Security policy to make sure the JavaScript agent is not blocked by your own CSP.
- Concerned about performance and latency? Read our guide on Optimizing JavaScript agent loading.
- Ready for a deep dive? Explore the full JavaScript agent API Reference.
- To learn about equivalent SDKs for mobile devices, see Android and iOS.
Updated about 1 month ago